

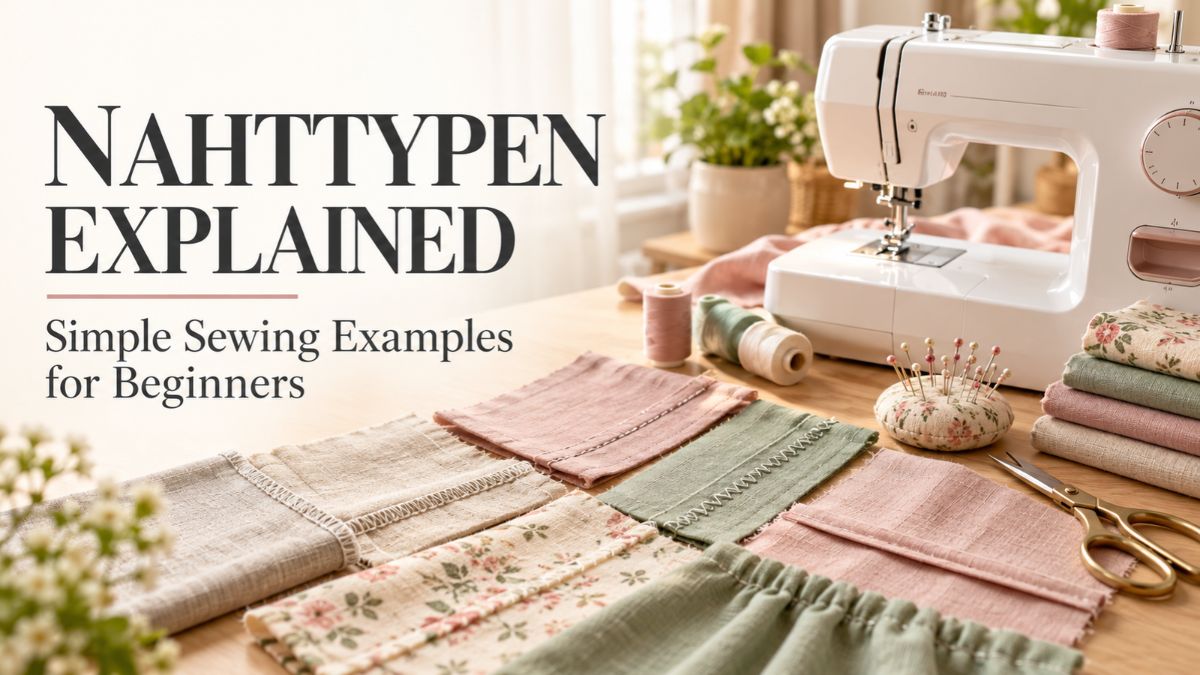
Have you ever turned a shirt inside out and noticed that its seams look different from those on your jeans? Those differences have a purpose. Some seams keep light fabric neat, while others help clothes handle regular wear. Nahttypen is a German word for seam types, and understanding it can make sewing instructions easier to follow. You do not need to master every method at once. Start with a few useful options, understand what each one does, and practise on spare fabric before making your first project.
What Does Nahttypen Mean in Sewing?
The word combines “Naht,” meaning seam, with “Typen,” meaning types. In sewing, it describes different ways of joining or arranging fabric at a seam. A seam might leave its fabric edges open on the inside, hide them within a fold, or hold them flat against the garment. The construction affects how the finished join looks and feels.
Think about a light blouse and a sturdy cotton bag. The blouse needs a finish that does not create a thick ridge. The bag needs seams suited to its fabric and expected use. Looking at familiar items helps you understand these choices. Turn a few clothes inside out and compare the side seams, sleeves, and pocket edges before trying the methods yourself.
Understand the Difference Between a Seam and a Stitch
A stitch is a small unit made with sewing thread. A seam is the join created when stitches hold fabric pieces together. A straight stitch and a zigzag stitch describe stitch patterns. A plain seam and a French seam describe ways to construct the join. Several seam types can use the same straight stitch, so the terms are related but have different meanings.
When reading about Nahttypen, also notice the term “seam finish.” This means a treatment for the cut fabric edges that helps control loose threads. A zigzag finish is one example. A hem has another purpose: it finishes an outer edge, such as the bottom of a skirt. Understanding these terms helps you choose a construction method, a stitch, and an edge treatment without mixing them up.
Check the Fabric and Seam Allowance First
Before choosing a method, look at your fabric. Does it stretch when you gently pull it? Do loose threads come away from the cut edge? Is it thin or thick? These checks matter because folded finishes can become bulky on heavy material. Stretchy fabric also needs stitching that allows movement. Use scraps from your project for testing, rather than a different fabric that may behave another way.
The seam allowance is the distance between the cut edge and the line where you sew. Follow the allowance stated in your pattern. One pattern may use 1 cm, while another uses 1.5 cm. Sewing farther from the edge can make clothing smaller. Check whether the allowance is already included before cutting. Keep scissors, suitable thread, pins or clips, and a measuring tool nearby so you can work accurately.
Start With a Plain Seam
A plain seam is a useful first method to practise when learning Nahttypen. Place two pieces of woven fabric with their right sides facing each other. The right side is the surface intended to show outside the finished item. Match the edges and sew along the pattern’s seam line. Keep the edge beside the correct guide on your machine, rather than watching only the moving needle.
For a simple exercise, join two cotton rectangles. Open them out and look at both surfaces. The outside should have a smooth join, while the seam allowances sit on the inside. Press them open or to one side as your project requires. If the fabric frays, give the raw edges a suitable finish. This basic construction lets you practise accuracy before adding extra folding or a second row of stitching.
Use a Zigzag Finish to Control Loose Threads
A zigzag finish can help keep woven fabric edges from fraying. First sew the seam, then work along its seam allowances. You can finish the allowances separately if they need to open out, or together if they will lie to one side. This treatment protects the edges; the original seam still joins the fabric pieces. Adjust the stitch position so it supports the edge without pulling it into a tight roll.
Try several settings on a spare piece before finishing your project. The edge should remain reasonably flat, without loose loops hanging far beyond it. If it curls, change the stitch width, length, or position and test again. There is no single setting for every fabric. Compare your samples in good light and choose the one that controls loose threads while keeping the material soft enough for its intended use.
Try a French Seam for Light Fabrics
A French seam hides the raw edges inside a narrow fabric fold. Among common Nahttypen, it is a useful option for light woven fabrics and garments without a lining. Unlike a plain seam, it begins with the wrong sides together. These are the surfaces that normally face inside the garment. You sew once, trim the allowance, turn the fabric, and sew again to enclose the cut edges.
For a practice sample with a total 1.5 cm allowance, sew the first line 5 mm from the edge. Trim the remaining allowance to about 3 mm. Fold the fabric so the right sides face each other, with the first stitching along the fold, and press. Sew the second line 10 mm from that fold. The two sewing distances total 15 mm. Check that no loose threads escape outside. Start with straight edges, which are easier to manage than tight curves.
Make a Flat-Felled Seam for a Flat Finish
A flat-felled seam encloses the fabric edges and holds the folded allowance against the garment. You may recognise this construction from shirts or jeans. Its extra stitching is visible on the outside, so it becomes part of the design. It suits projects where a flat, durable join is helpful. However, several fabric layers meet within the fold, which can make thick materials harder to sew.
To practise, sew a plain seam with enough allowance for folding. Trim one allowance narrower, leaving the other wider. Fold the wider allowance around the narrow one so both raw edges are hidden. Press the folded unit flat against the fabric, then stitch close to its folded edge through the garment. Check underneath to confirm that the stitching caught the fold. Begin with medium-weight cotton before attempting bulky denim intersections.
Choose Flexible Stitching for Stretch Fabrics
Stretch fabrics need seams that can move with them. A regular straight stitch may break if the fabric stretches beyond the thread’s available movement. When choosing Nahttypen for a jersey top, consider the stitch as well as the seam construction. A narrow zigzag or an appropriate stretch stitch can provide flexibility. Check your machine instructions because the available stitch patterns and recommended settings vary between models.
Use a needle suited to your knit fabric, then test on two scrap layers. Sew without pulling the fabric through the machine. After stitching, gently stretch the sample by an amount similar to normal wear. Listen for broken threads and check for gaps or skipped stitches. If the join fails or becomes wavy, adjust your setup and test again. A seam that looks neat while resting must also work when the garment moves.
Know What an Overlocker Can Do
An overlocker, also called a serger, wraps thread around fabric edges and can trim them as it sews. With a suitable stitch setup, it can also construct seams, including flexible joins in knit clothing. For example, four-thread overlocking is commonly used for joining stretchy fabric. An edge-finishing setup may serve a different purpose, so check the machine manual before treating every overlocked edge as a finished construction seam.
You can practise several Nahttypen with a regular sewing machine, including plain, French, and flat-felled seams. A zigzag stitch also offers a practical edge finish. Choose a method that works with the equipment you have and the pattern you are following. If you use an overlocker, practise guiding scraps first. Its blade removes fabric, so cutting away too much can change the seam allowance and the final size.
Use Basting When Fabric Layers Keep Moving
Basting means using temporary stitches to hold fabric in position. These stitches are usually longer and easier to remove than permanent stitching. You can baste by hand or machine before sewing a final seam. It is useful when layers slide apart or when you want to check how a garment fits. Place the temporary stitching where it will hold the pieces without getting in the way of the final construction.
Imagine joining two panels with stripes that must match. Baste a short section, open it out, and inspect the outside. If the stripes sit too high or low, remove the temporary stitches and adjust the pieces. This small check gives you a chance to correct the placement before sewing the full seam. After the permanent stitching is complete, remove any basting that shows or restricts the fabric.
Press the Seams as You Work
Pressing helps sewn fabric settle into its intended shape. Use the temperature and steam settings suited to your material, testing on a scrap first. Lift and lower the iron instead of dragging it across the join. Press the seam allowances in the direction required by your pattern or chosen finish. A pressing cloth can help protect delicate surfaces, but the iron temperature must still suit the fabric underneath.
Compare two practice samples, pressing one and leaving the other untouched. Look at the seam from the outside and feel the fold from the inside. This comparison shows you what pressing contributes before you try more complicated construction. Give each fold time to settle before moving it. For a French or flat-felled seam, careful pressing also makes the next sewing line easier to place because the folded edge is clearly defined.
Find the Cause of Uneven or Uncomfortable Seams
When practising Nahttypen, check the finished join before moving on. If the seam wanders, slow down and watch the allowance guide. If the layers shift, try basting them together. If a folded finish feels thick, consider whether it suits the fabric and location. A neat sample on thin cotton does not guarantee that the same fold will feel comfortable where several heavy seams cross.
Make one change at a time while solving a problem. For example, keep the fabric and thread the same while comparing two stitch lengths. Write down which sample lies flatter. If you change every setting together, it becomes harder to identify what helped. Do not trim allowances very narrow simply to hide uneven edges. First check the required width, because removing too much fabric can leave too little material supporting the join.
Build a Small Collection of Practice Samples
Make a reference collection while learning Nahttypen. Start with matching cotton rectangles and create a plain seam, a zigzag-finished seam, a French seam, and a flat-felled seam. Keep the samples large enough to open and inspect. Label each one with the fabric, seam allowance, and machine settings. Add a separate knit sample to compare how flexible stitching behaves when the material is stretched.
Choose your next project around the skill you want to practise. A simple cotton cushion cover offers straight joins, while a small unlined bag lets you practise French seams along its straight sides. Before cutting, read the complete instructions and identify which edges are joined and which are hemmed. Your sample collection then becomes a useful reminder of the construction, rather than something you have to remember from a name alone.
Conclusion
Understanding Nahttypen helps you connect sewing terms with choices you can see and test. Start with a plain seam, follow the pattern’s allowance, and choose an edge finish suited to the fabric. Then practise enclosed seams and flexible stitching on scraps. Check both the appearance and the movement of each sample. With a small collection beside your machine, you can approach your next project with a clearer idea of how its seams should work.
(FAQ’s)
1. What does Nahttypen mean?
It is a German word meaning seam types, or different ways to construct fabric joins.
2. Which seam should a sewing beginner practise first?
A plain seam on stable woven cotton is a useful starting point.
3. Can I make a French seam on a regular sewing machine?
Yes, you can make it with straight stitching and careful folding.
4. Does every seam need an edge finish?
No, it depends on the fabric, construction, and whether the raw edges are already enclosed.
5. Can I use straight stitching on stretchy fabric?
It depends on the seam’s purpose, but joins that must stretch usually need flexible stitching.
You may also read: Cellulogia Explained and What Its Skin Care Claims Really Mean
Visit for more additional information: Zellow Magazine